How to Plant Hens and Chicks Step by Step
Planting hens and chicks is surprisingly simple once you understand what these succulents need.
Unlike many garden plants, they do not require rich soil, regular feeding, or frequent watering.
In fact, giving them too much attention often causes more problems than neglect.
The key is recreating the rocky, well-drained conditions where sempervivum naturally grows.
The container planting project below demonstrates the entire process, from selecting healthy plants to creating a mature overflowing display.
Choose Healthy Hens and Chicks Plants
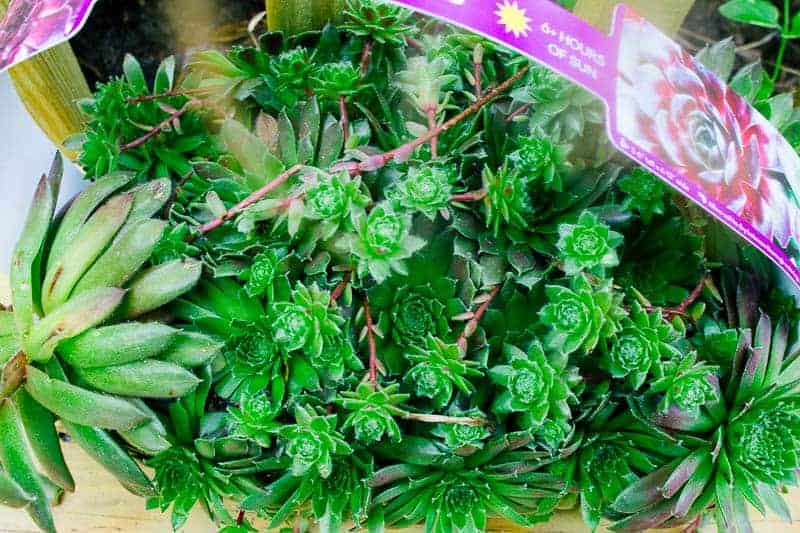
Before planting, start with healthy stock plants. Look for compact rosettes with firm leaves and vibrant color. Healthy hens should have tightly packed leaves without signs of rot or damage.
Many nursery trays contain a mature mother plant surrounded by dozens of smaller offsets. These baby plants, known as chicks, can be separated and planted throughout the container.
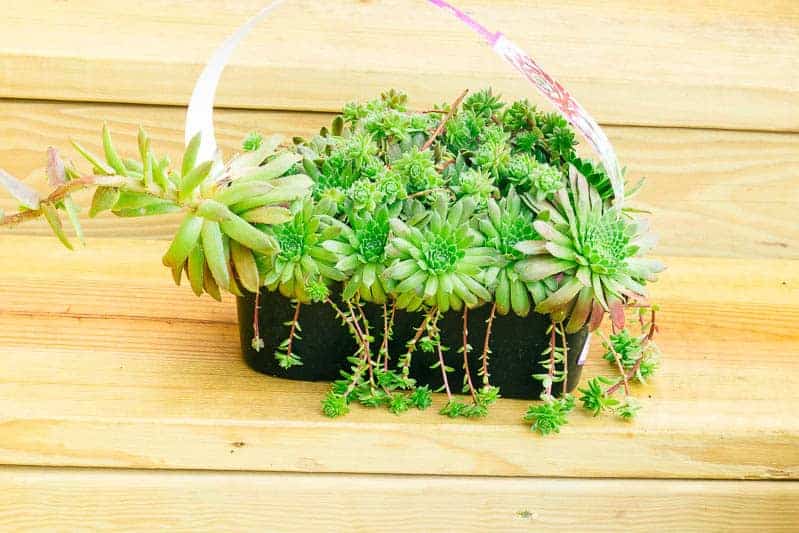
The tray above contains several mature hens, along with numerous chicks, which can be used to fill both the top and side openings of a strawberry planter.
Select a Container With Excellent Drainage
Container choice plays a major role in long term success.
Terracotta pots are often the best option because they naturally allow excess moisture to evaporate through the clay walls. Strawberry pots are especially popular for hens and chicks because the side pockets provide extra planting space and create a fuller appearance.
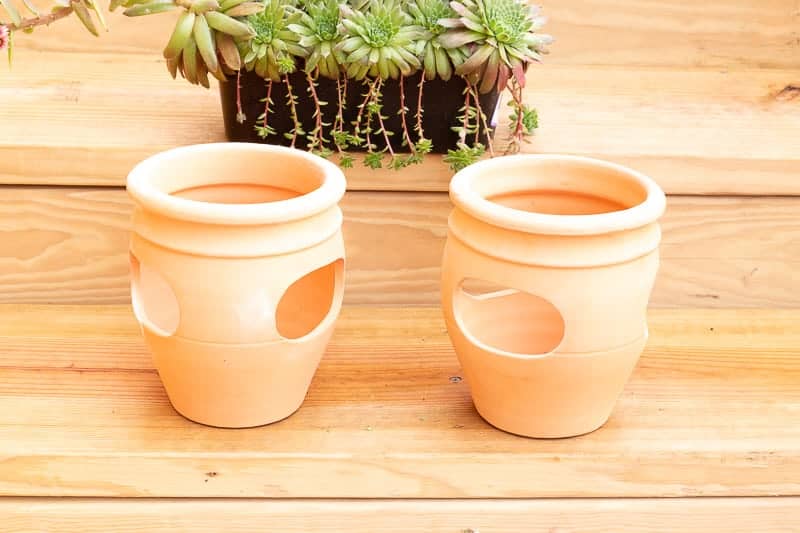
The side openings allow offsets to grow outward, creating the cascading effect that makes mature containers so attractive.
Prepare the Container for Better Drainage
One of the most common reasons hens and chicks fail is poor drainage.
Before adding soil, place a small stone or piece of mesh over the drainage hole. This prevents soil from washing out while still allowing excess water to escape.
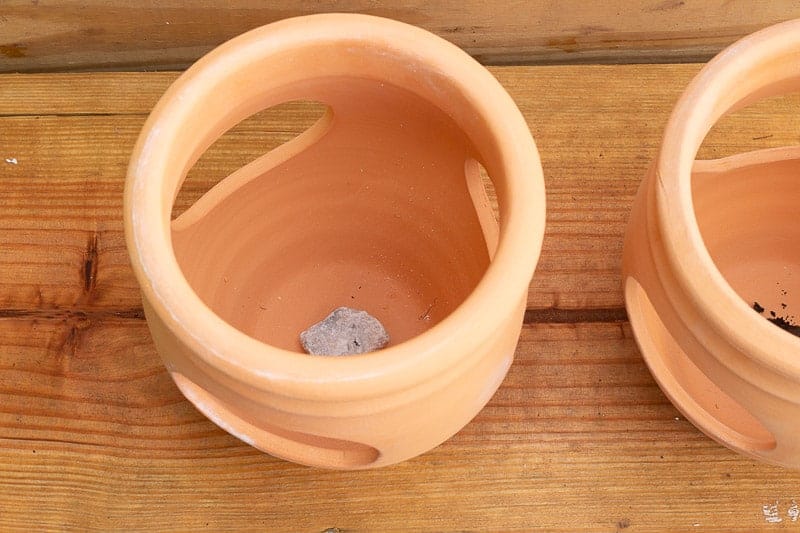
Next, add a thin drainage layer using perlite or small gravel.
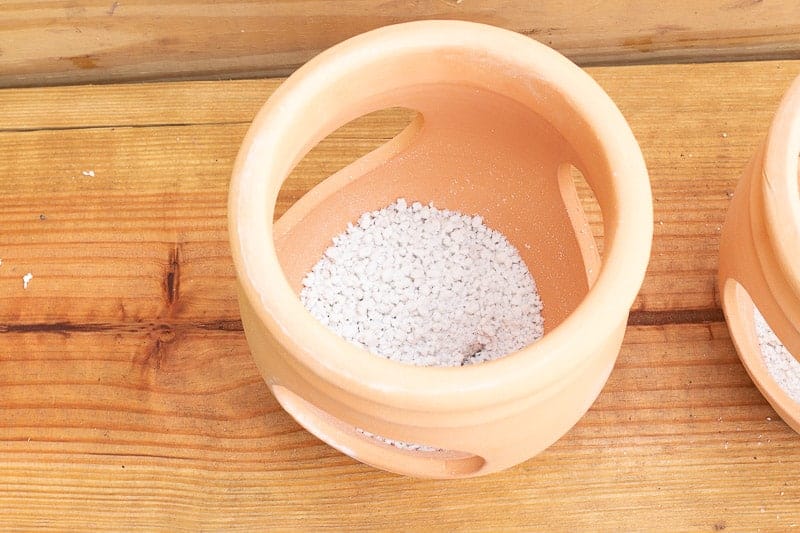
This extra step helps prevent water from collecting around the roots during heavy rain or watering.
Mix the Ideal Soil for Sempervivum
Hens and chicks thrive in gritty, fast-draining soil.
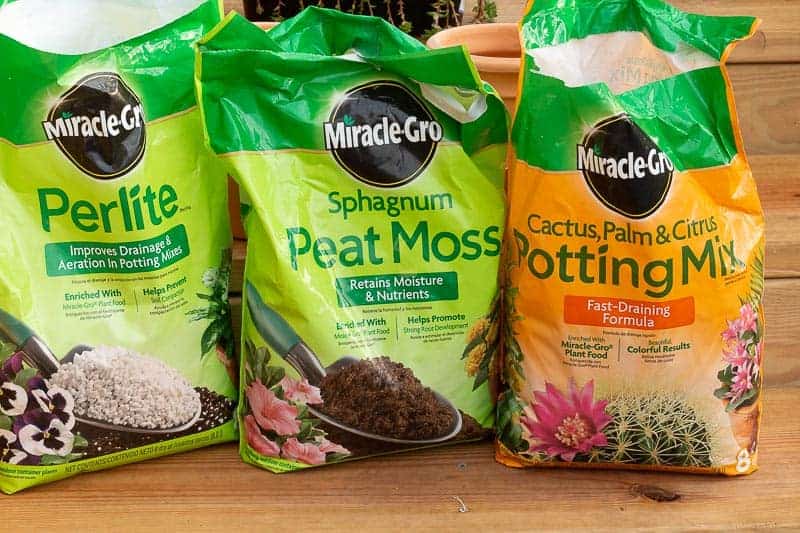
A simple mixture includes:
- 50% cactus soil
- 25% perlite
- 25% coarse sand
The materials shown below create a loose growing medium that dries quickly after watering.
Once mixed, fill the planter about halfway with soil.
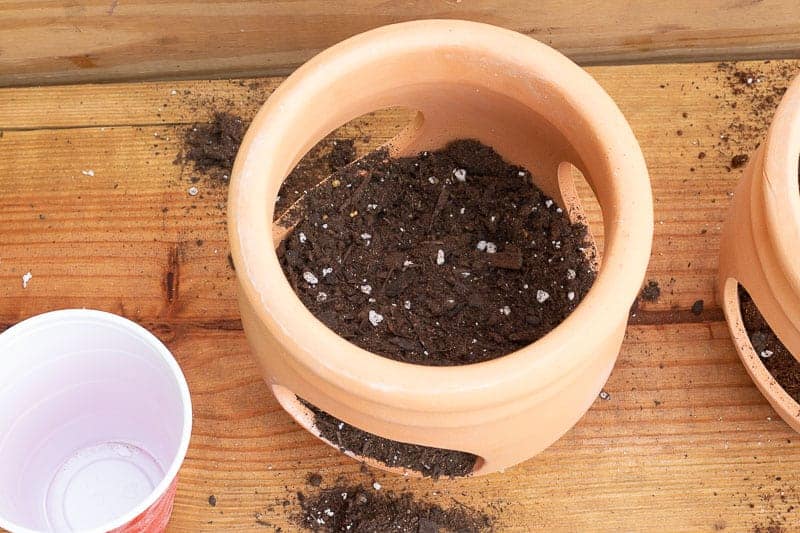
Do not fill the pot yet because the side openings need to be planted first.
Plant the Side Pockets First
Strawberry planters are designed to hold plants along the sides as well as the top.
Start with the lowest opening and carefully insert a small chick so the roots remain inside the pot while the rosette stays visible outside.
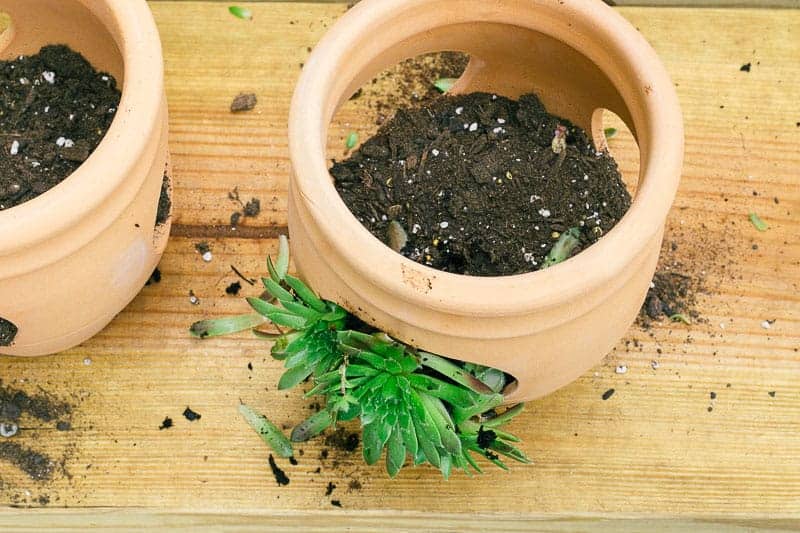
After positioning the plant, add more soil inside the container to hold it in place. Continue filling and planting each level as you work upward.
This technique creates a fuller display and encourages the plants to spill naturally from the sides.
Plant the Top of the Container
Once all side openings have been filled, add the remaining soil and plant the larger hens at the top.
Avoid burying the rosettes. The crown should sit slightly above the soil line.
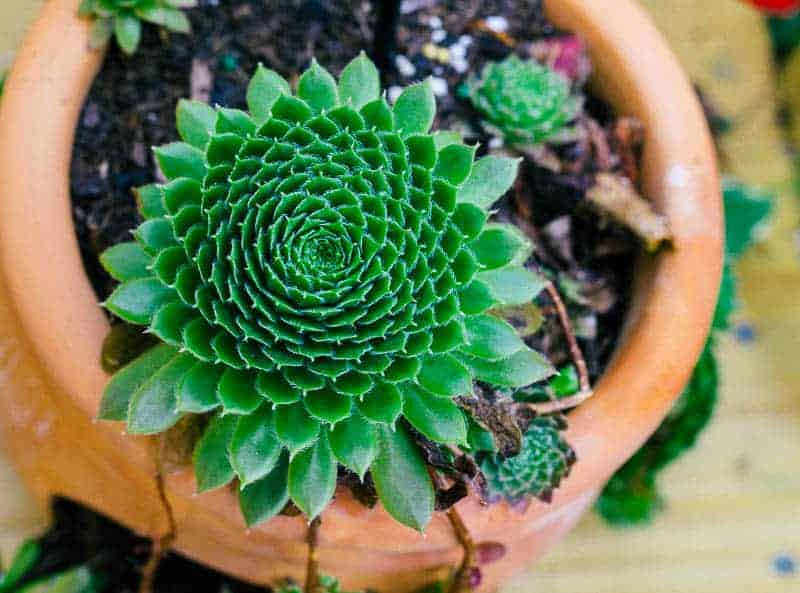
Proper planting depth improves airflow around the plant and reduces the risk of crown rot.
Leave several inches between plants. While the spacing may seem excessive initially, those gaps will quickly fill with new chicks.
Place the Container in Full Sun
After planting, move the container to a location that receives at least six hours of direct sunlight daily.
Full sun encourages:
- Compact growth
- Strong root development
- Better color
- More offsets
wide varieties develop red, purple, and bronze tones when exposed to bright sunlight.
Plants grown in shade often become stretched and lose their distinctive rosette shape.
Watch New Chicks Begin to Form
Once established, the mother plant begins producing offsets along thin stems called stolons.
These baby plants gradually spread throughout the container and create dense colonies.
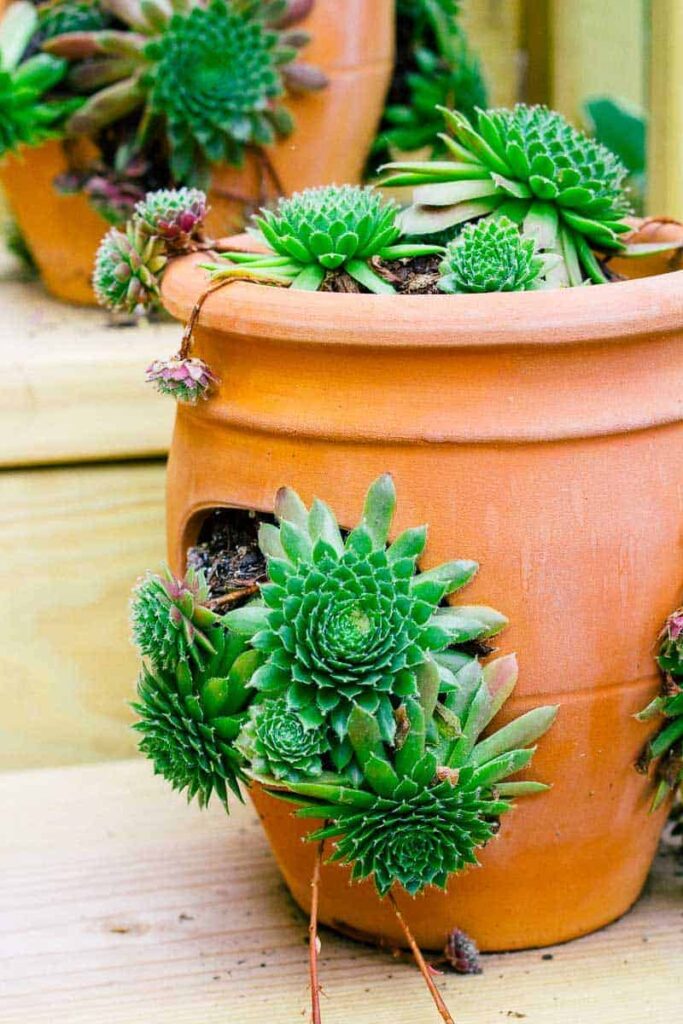
This natural growth habit is what gives hens and chicks their name.
As the colony expands, the container becomes fuller and more attractive every season.
Enjoy the Mature Display
One of the most rewarding aspects of growing hens and chicks is seeing the planter transform over time.
The offsets continue filling empty spaces while older plants become larger and more colorful.
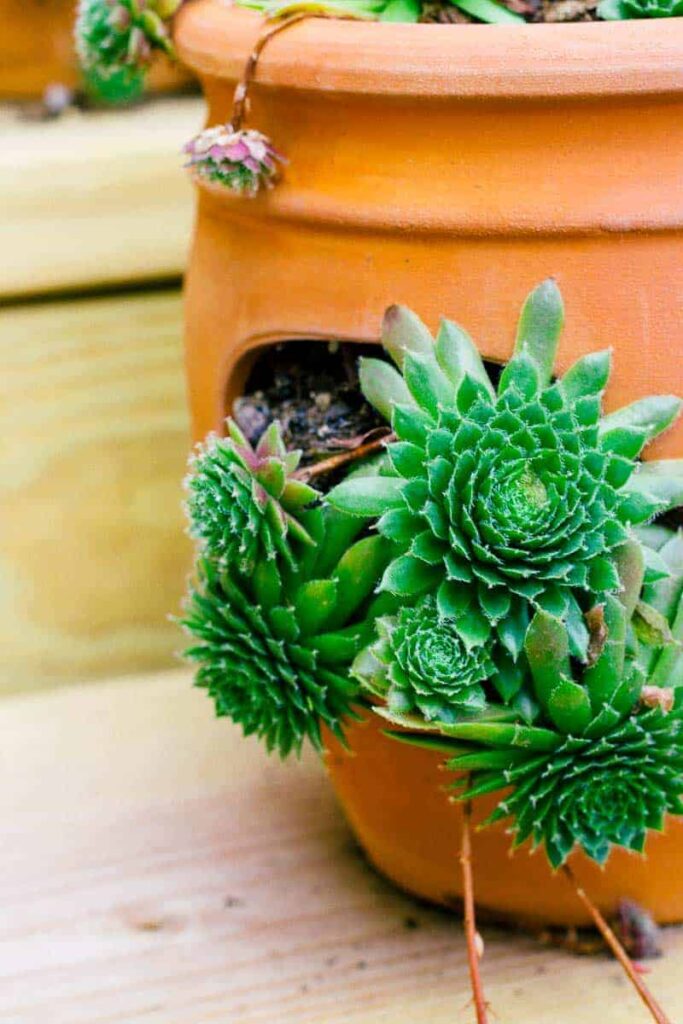
The finished result resembles a living sculpture made entirely from succulents.
As more chicks develop, the display becomes increasingly dramatic.
Expand Your Collection Through Propagation
A single container can eventually produce dozens of new plants.
Each chick can be removed, replanted, and grown into a mature rosette.
Many gardeners start with one planter and later create multiple containers using the offsets from the original colony.
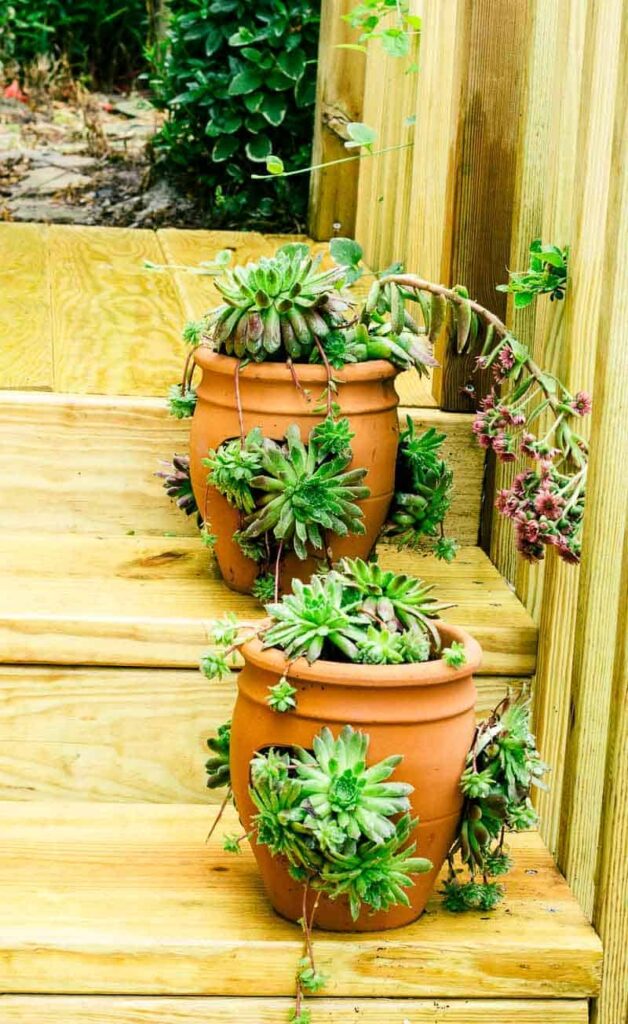
With proper sunlight, excellent drainage, and minimal watering, your hens and chicks can continue multiplying for many years.