How to Build a Raised Garden Bed (Step-by-Step)
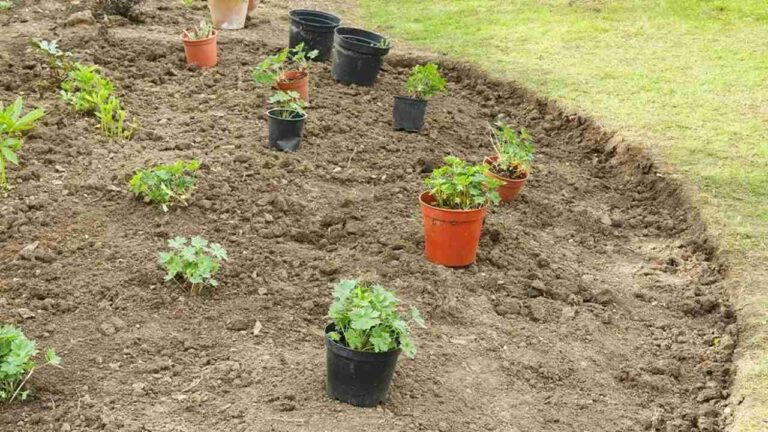
Your backyard soil is probably working against you.
Most home soil is either too compacted, too clay-heavy, or too poor to grow decent vegetables. You plant seeds. You water. You wait. And nothing much happens. First-time gardeners deal with this constantly, and most of them give up, thinking they just have a black thumb.
They don’t. They just have bad soil.
A raised garden bed fixes that problem directly. You skip the bad soil completely and start fresh with a mix that actually grows things. A three-year study at Dawes Arboretum in Ohio found that raised beds produced nearly double the harvest per square foot compared to traditional in-ground gardens. That’s not a small difference.
This guide will show you how to build a raised garden bed from scratch. No special skills needed. No expensive tools. You will learn which materials to buy, what size to build, how deep to go, and what soil to fill it with.
Here is everything you need to know to do it right the first time.
Why a Raised Garden Bed Beats In-Ground Gardening
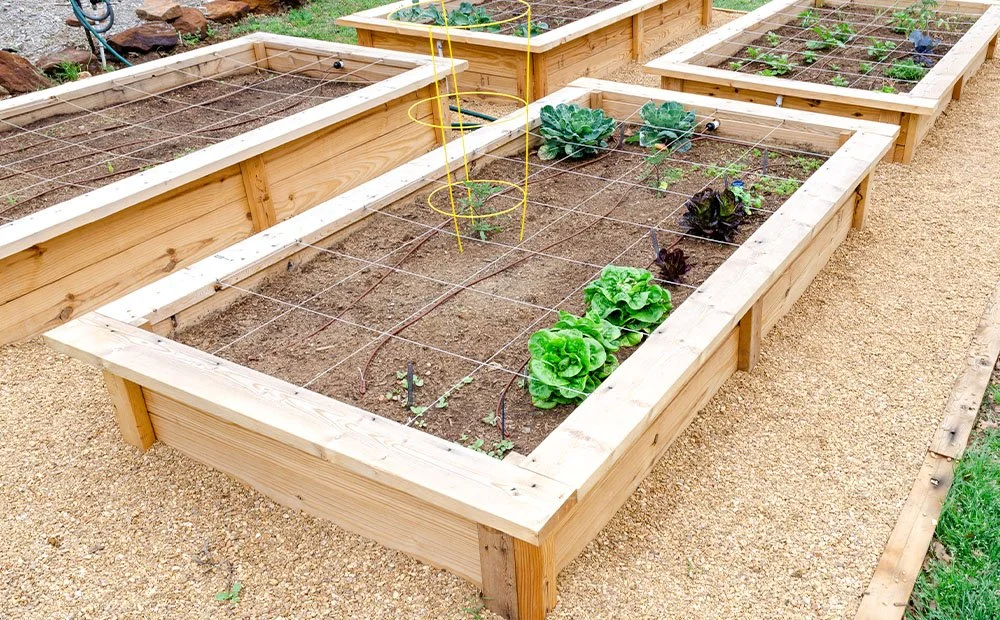
Raised beds produce more food with less work. That’s the short version.
The longer version: when you build a raised bed, you control every part of the growing environment. You choose the soil. You control the drainage. You decide how deep the roots can go. In-ground gardening gives you none of that. You’re stuck with whatever your yard has.
Beyond that, raised soil warms up faster in spring. That extra warmth lets you start planting 2 to 4 weeks earlier than in-ground gardeners. At the end of the season, the same warmth keeps your plants going longer. You get more growing time on both ends of the calendar.
Drainage is another big win. Poor drainage is one of the top reasons vegetable gardens fail. Roots sitting in waterlogged soil rot fast. A raised bed drains freely because the soil is loose and the structure sits above ground level. The Royal Horticultural Society notes that raised beds warm faster than the ground in spring, giving plants an early advantage.
You also stop compacting the soil by never stepping inside the bed. In a traditional row garden, every time you walk between plants, you’re packing the soil tighter. Compacted soil blocks root growth. In a raised bed, the soil stays loose for years.
There is another benefit that matters especially to older gardeners, people with back problems, or anyone who uses a wheelchair. A waist-height raised bed brings the garden up to you.
You can weed, plant, and harvest without bending down at all. The University of Georgia Cooperative Extension points out that raised beds can even be built on concrete, parking lots, and rocky ground where in-ground gardening is physically impossible.
Now that you know what a raised bed does for your garden, let’s talk about what it should be made of.
What Material Should You Use?
The material you choose will either last 15 years or fall apart in 3. The difference comes down to a few simple decisions.
Cedar
Cedar is the best all-around choice. It contains natural tannins that resist rot and insect damage without chemical treatment.
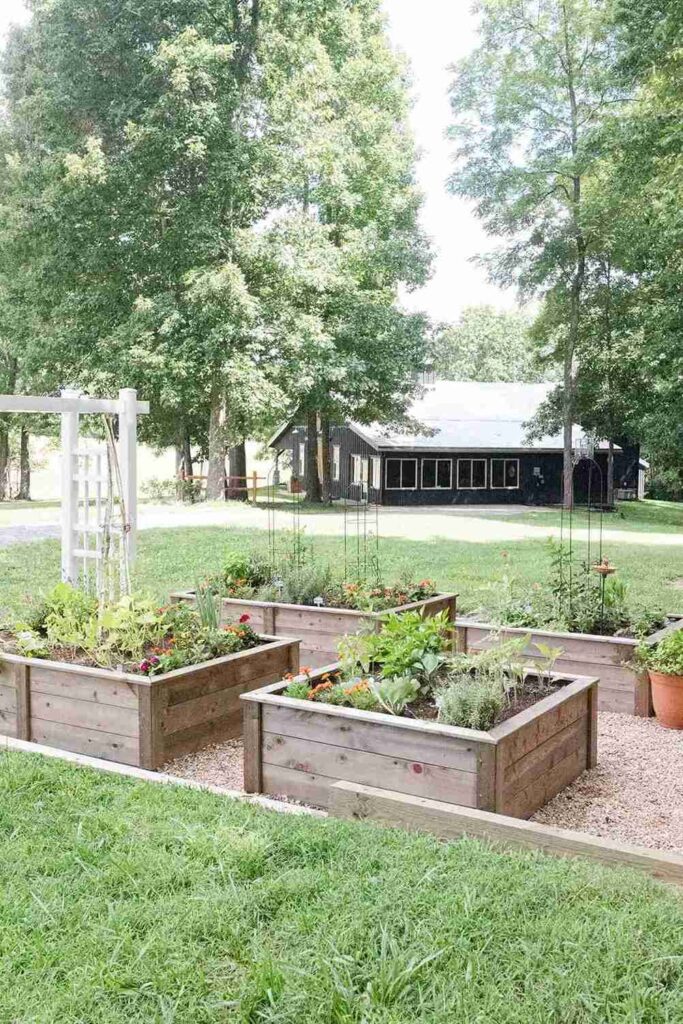
A well-built cedar bed lasts 10 to 20 years. It’s safe for growing food. It looks good. It handles moisture without warping badly.
The downside is cost. Cedar costs significantly more than pine at the lumber yard. If budget is a concern, that’s a real trade-off to think about.
Untreated Pine
Pine is the practical choice for most beginners. It’s widely available, easy to find at any hardware store, and costs a fraction of what cedar does.
The honest trade-off: untreated pine lasts roughly 5 to 7 years in a raised bed. After that, some boards will start to rot and need replacing.
For a first bed, pine is a smart call. It lets you test whether raised bed gardening works for your life before you spend more money on cedar. You can always upgrade later.
Douglas Fir
Douglas fir sits between pine and cedar in both cost and durability. It lasts around 7 to 10 years and is a good middle-ground option if you can find it locally.
What to Avoid
Pressure-treated lumber is the big one to be careful about. Modern pressure-treated wood uses copper-based preservatives that are safer than the older arsenic-based treatments.
But most gardeners growing food still choose to avoid it near edible crops, since the chemicals are right up against the soil your vegetables grow in. If you do use it, line the inside of the bed with landscape fabric as a barrier.
Never use old railroad ties or reclaimed timber with an unknown history. Older treated wood may contain creosote or arsenic. It’s not worth the risk for a food garden.
Non-Wood Options
Galvanized corrugated steel beds are extremely popular right now. They last 20-plus years and look great. The one honest note: steel heats up faster than wood in full summer sun, which can overheat the root zone in hot climates.
Cedar insulates soil temperature better. In mild or cool climates, steel is a perfectly fine choice.
Concrete blocks are cheap, durable, and practical for utility gardens. They won’t win any design awards, but they work.
A Simple Comparison
| Material | Lifespan | Cost | Safe for Food Gardens |
|---|---|---|---|
| Cedar | Use caution/line it | Higher | Yes |
| Pine (untreated) | 5 to 7 years | Low | Yes |
| Douglas Fir | 7 to 10 years | Medium | Yes |
| Galvanized Steel | 20-plus years | Medium | Yes |
| Concrete Blocks | Decades | Low | Yes |
| Pressure-treated lumber | 10 to 15 years | Medium | Use caution / line it |
Hardware You Need
- 3-inch galvanized deck screws (2 to 3 per corner joint)
- A power drill or hand screwdriver
- Landscape fabric for the base (not plastic film)
- Corner bracket kits (optional, but they make assembly easier for beginners)
One important note on board thickness: always buy 2-inch-thick boards. One-inch boards bow outward under the weight of wet soil, especially on longer beds. That bow opens gaps at the corners and shortens the life of the whole structure.
With your material chosen, the next decision determines how productive and how comfortable your garden will be: size and location.
Getting the Size and Location Right
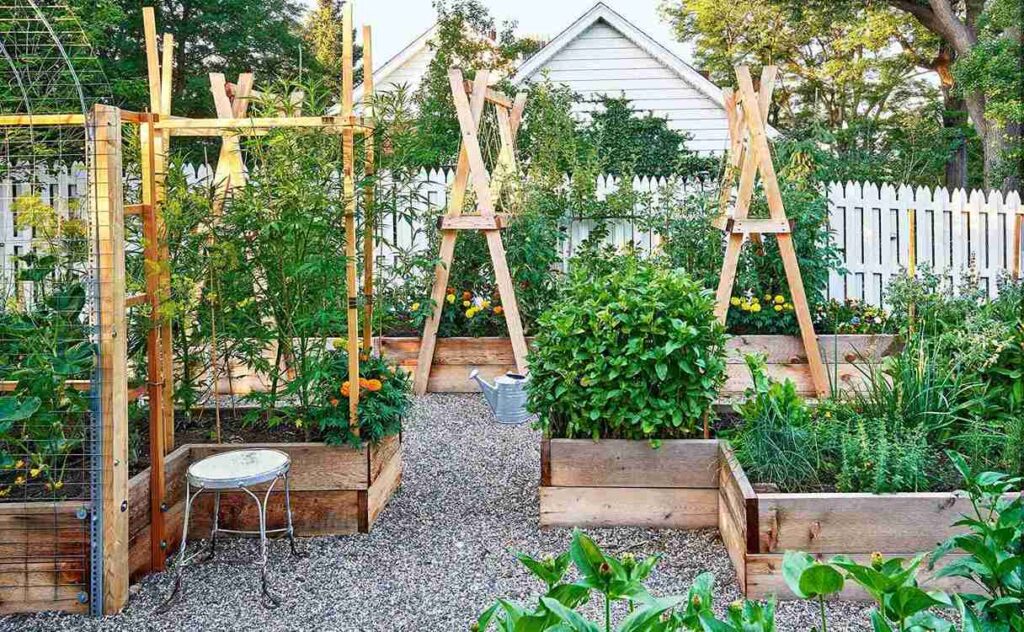
The most common beginner mistake is building a bed that they cannot comfortably reach across.
If you have to step inside the bed to reach the center, you will compact the soil every time you garden. That defeats most of the point.
Width
Keep your bed 4 feet wide maximum if you can access both long sides. If access is only from one side, a wall or fence is behind the bed, then keep it 2 to 2.5 feet wide. The goal is simple: you should be able to reach the center without stepping inside.
The minimum useful width is 18 inches. Anything narrower leaves you with barely enough room to grow more than one row of plants.
Length
Any length works. Eight feet is the most common because standard lumber comes in 8-foot boards.
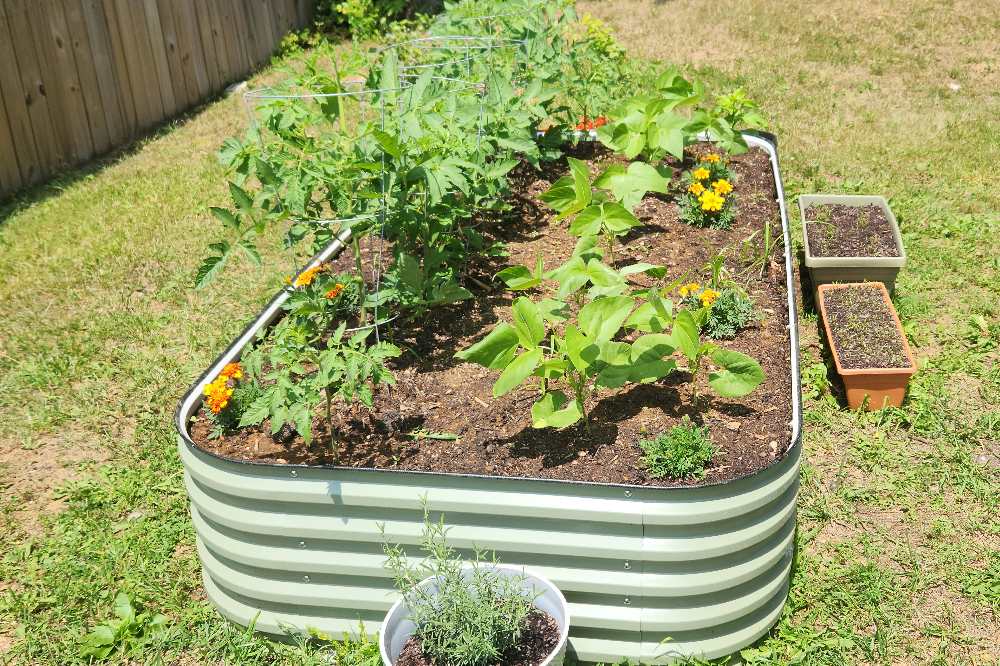
A 4×8-foot bed gives you 32 square feet of growing space, which is enough to grow a real variety of vegetables.
Depth
Depth matters more than most beginners expect.
- 6 to 8 inches: works only for shallow-rooted plants like lettuce, radishes, and most herbs
- 12 inches: the practical minimum for most vegetables, including tomatoes, peppers, and leafy greens (University of Illinois Extension)
- 18 inches: better for root vegetables like carrots, parsnips, and beets; also, the minimum if your bed sits on concrete with no soil below
- 24 to 36 inches (waist height): the best option for anyone with back problems or limited mobility
The most common starter build is 4 feet wide, 8 feet long, and 12 inches deep. In pine lumber at current hardware store pricing, that runs roughly $60 to $100 in wood before screws and soil.
If you have a balcony or tight patio space, a 2×4-foot bed at 12 inches deep fits almost anywhere and still gives you room to grow a handful of crops.
Location
Most vegetables need 6 to 8 hours of direct sunlight per day. Fruiting crops like tomatoes and squash need the full 8 hours. Leafy greens like lettuce can manage with 4 to 6.
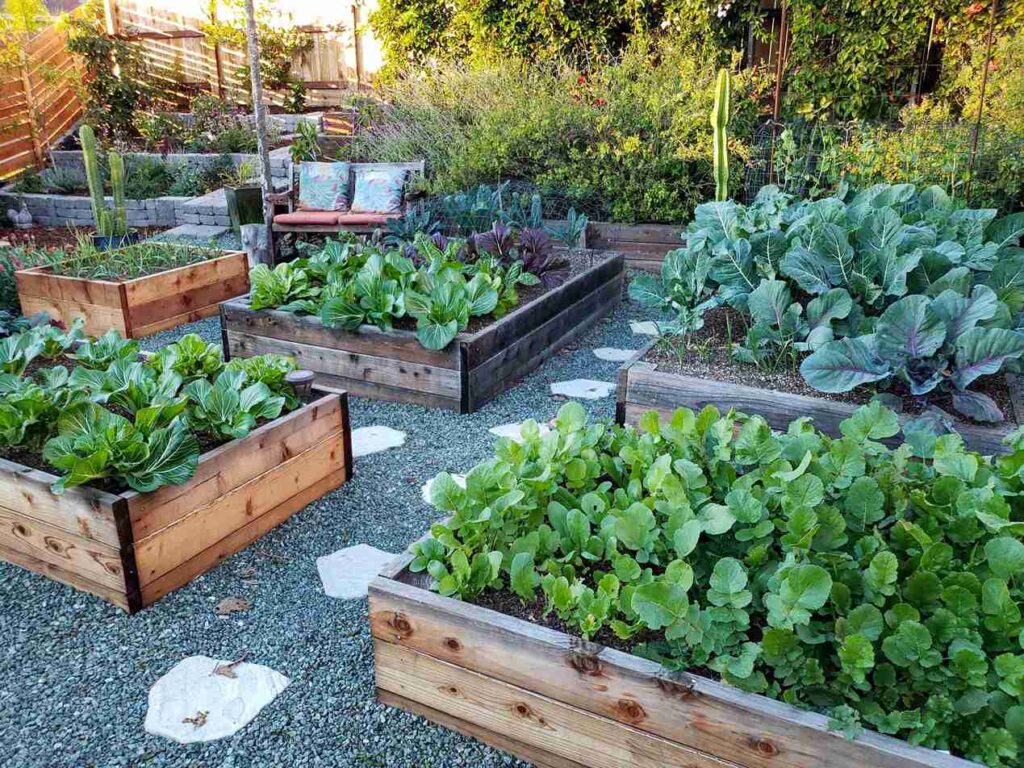
Avoid the north side of your house, any tall fence that casts afternoon shade, and the drip line of large trees. The Royal Horticultural Society recommends running long beds north to south, so both long sides receive equal sunlight through the day.
Pick a spot close to a water source. You will water this bed regularly. Dragging a long hose across the yard every day gets old fast.
Good news: beds work on grass, gravel, concrete, or bare soil. They work anywhere with enough sun.
Now you have a plan. Here is how to bring it together.
How to Build a Raised Garden Bed: Step-by-Step
This build requires no woodworking skills and no special tools. If you can drive a screw, you can build this bed in an afternoon.
What You Need
For a standard 4×8-foot bed at 12 inches deep:
- Two 2x12x8-foot boards (for the long sides)
- Two 2x12x4-foot boards (for the short end pieces, cut from one 8-foot board)
- 3-inch galvanized deck screws
- A power drill
- A tape measure and a pencil
- Landscape fabric (cut to fit the base)
- A galvanized staple gun to attach the fabric
If your hardware store only carries 2×6 boards, buy double the quantity and stack two boards per side to reach 12 inches of depth.
Step 1: Choose and Prepare the Site
Mark out the footprint of your bed with stakes and string or a line of spray paint. If you’re building on grass, lay a thick layer of cardboard directly on the grass before you set the frame down.
The cardboard blocks weeds from pushing up through the soil, and it breaks down naturally within one season without blocking drainage. If the ground is uneven, level it as best you can. An uneven base causes the frame to rock and gaps to open at the corners over time.
Step 2: Cut Your Boards
Standard 8-foot boards need no cutting for the long sides. For the 4-foot end pieces, cut one 8-foot board in half. If you are using 2×6 boards and stacking them for depth, cut them in the same way.
When you stack boards, stagger the seams at corners so the top layer’s joint does not line up with the bottom layer’s joint. That stagger adds a lot of strength.
Step 3: Assemble the Frame
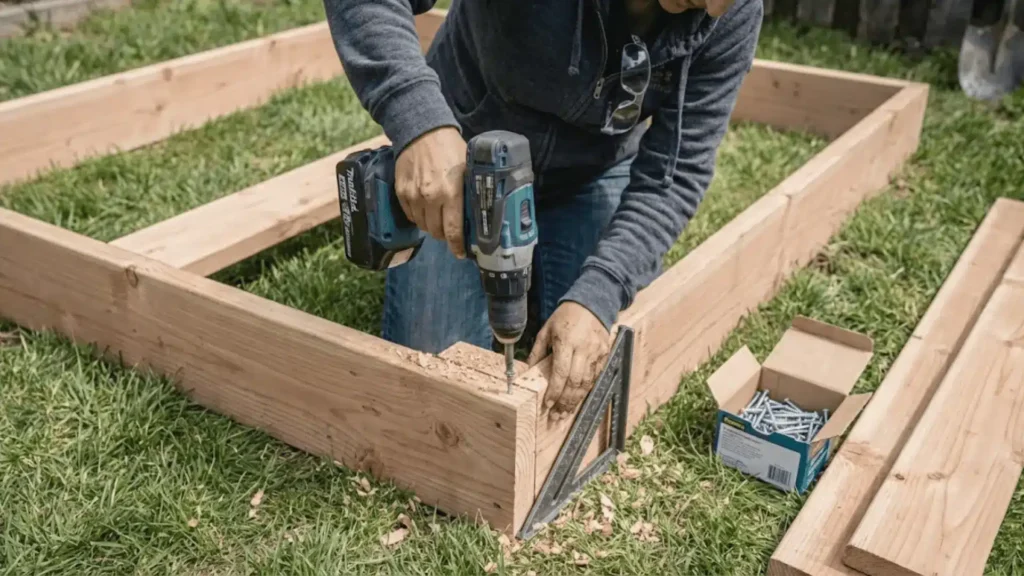
Lay all four boards out in a rectangle on the ground before driving any screws. This is important. You want to confirm the fit and square up the corners before anything is fastened. Butt the short end pieces inside the long side boards at each corner.
Drive 2 to 3 screws through the long board into the end of the short board at each corner. Pre-drill pilot holes near the board ends to prevent splitting. Skipping the pilot holes often cracks the wood right where you need it to be strongest.
Step 4: Position the Frame
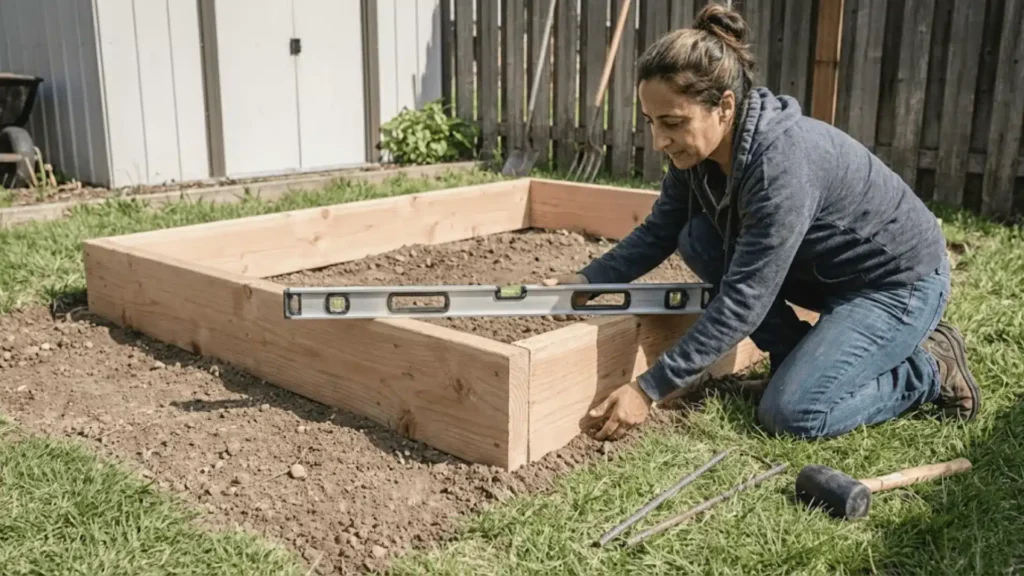
Carry the assembled frame to your chosen location. Set it down and check that all four sides sit level. Use a carpenter’s level on each side.
If you’re building on soil or grass, press the frame down slightly so it sits flush with the ground surface. A frame that sits even 1 inch above ground level will shift over time.
Step 5: Install the Weed Barrier
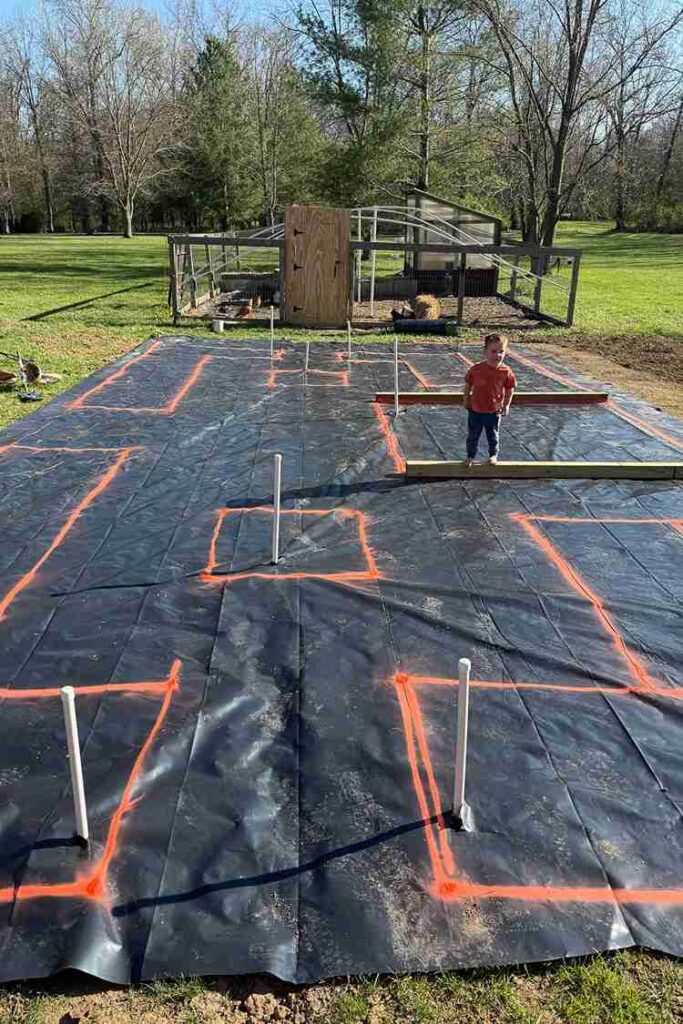
Cut landscape fabric to fit the interior of the bed with 4 to 6 inches of extra fabric going up each side wall. Staple the fabric to the inside of the boards around the perimeter. Do not use solid plastic sheeting.
Plastic blocks drainage completely and makes the inside of your bed a soggy mess within a few waterings. Landscape fabric lets water drain freely while blocking weeds. If you laid cardboard under the frame in Step 1, lay the landscape fabric right on top of it.
Step 6: Fill with Soil
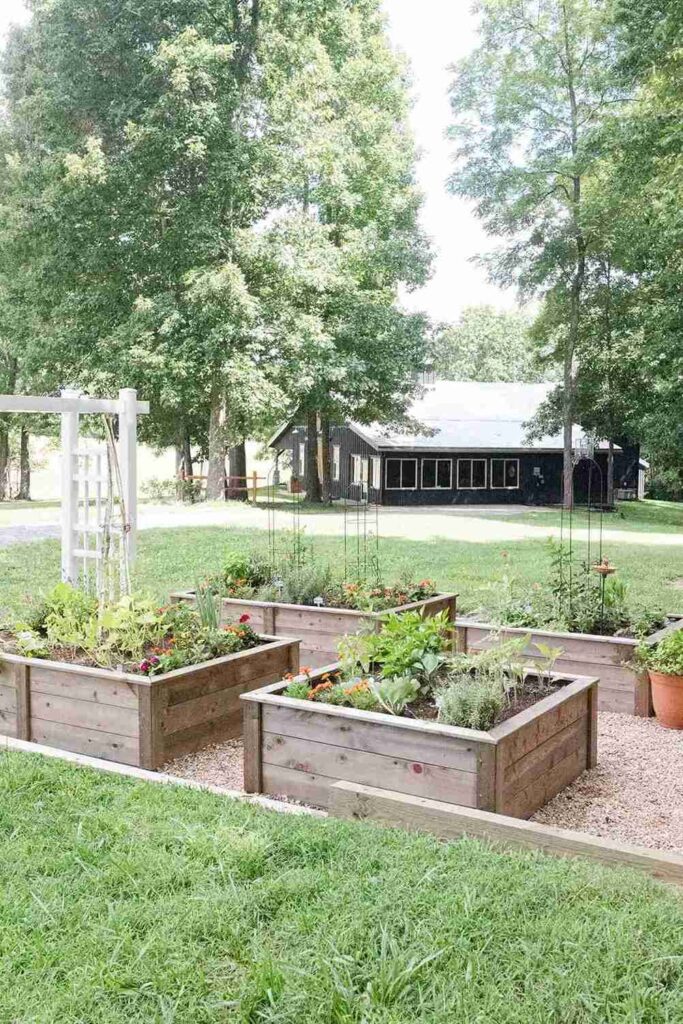
See the next section for exactly what to fill it with. The soil you choose matters more than almost any other decision you will make about this bed.
Your frame is built and set. Now comes the single most important decision you will make for your garden: the soil.
The Right Soil for a Raised Garden Bed
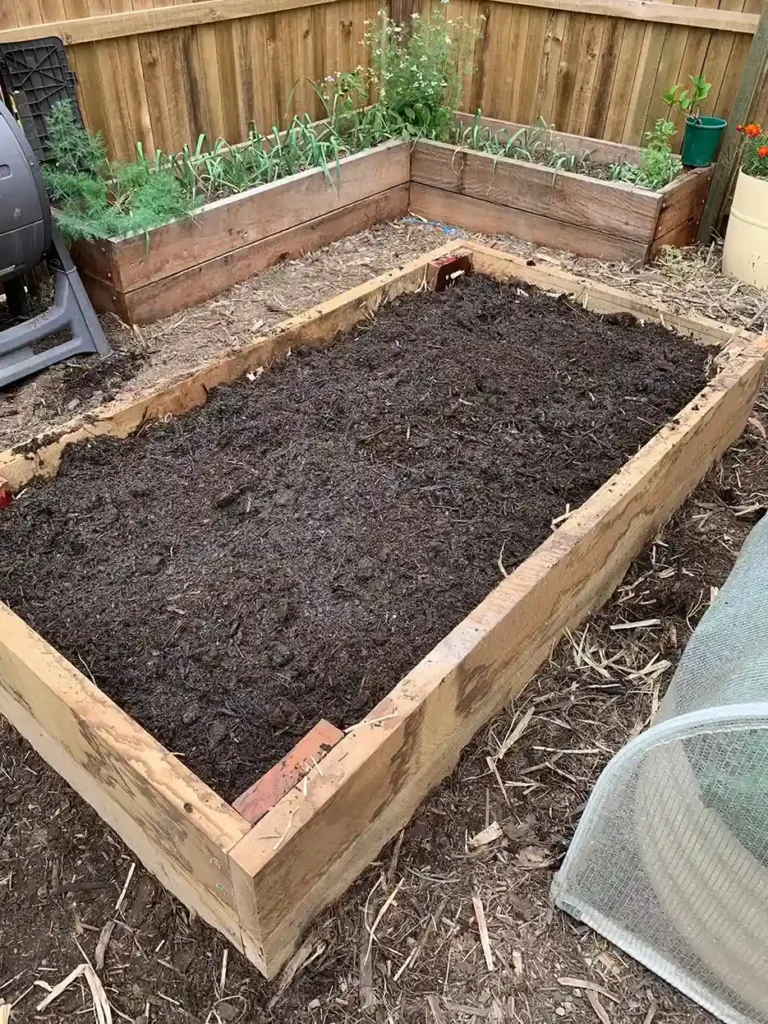
The soil you put inside the frame matters more than the frame itself.
Most people fill their first raised bed with whatever is cheapest at the garden center. That soil compacts, drains poorly, and chokes the plants they wanted to grow. Getting the soil right from the start saves you a lot of frustration.
What Not to Use
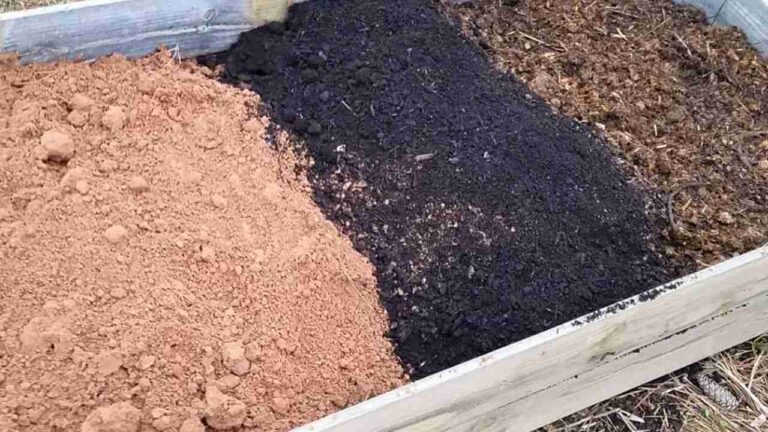
Regular garden soil or native topsoil is the worst thing you can put in a raised bed. It compacts under its own weight within one or two seasons. Once compacted, it drains poorly, blocks root penetration, and warms slowly in spring.
Bovees notes that the investment in building and filling a raised bed is completely wasted if you fill it with the wrong growing medium.
Products labeled “topsoil” at garden centers often contain actual topsoil that will compact in exactly this way. Look for products specifically labeled “raised bed mix” or “container mix.”
Do not add large amounts of fine sand as a drainage fix. Mixing fine sand with clay-heavy soil creates something close to concrete. Only coarse horticultural sand with particles 2mm or larger improves drainage, and even then, it’s used as a minor addition, not a main ingredient.
What to Use: Mel’s Mix
The most tested and trusted soil formula for raised beds is called Mel’s Mix. It was developed by Mel Bartholomew, the creator of Square Foot Gardening, and has been used successfully by home gardeners for decades.
The formula is straightforward:
- One-third finished compost
- One-third peat moss or coconut coir
- One-third coarse vermiculite or perlite
The Square Foot Gardening Foundation describes this mix as pH-neutral, nutrient-rich, well-draining, and non-compacting across multiple growing seasons. Coir is the preferred sustainable swap for peat moss. It’s a byproduct of coconut processing and does not come from draining peat bogs.
For compost, use blends from multiple sources rather than a single product. The more varied the compost, the broader the range of biological activity in your soil.
The University of Maryland Extension recommends organic matter at 25 to 50 percent by volume in raised bed growing media, and Mel’s Mix delivers that comfortably.
Budget Alternative
If Mel’s Mix is too expensive for your first bed, this simpler formula works well:
- One-half compost
- One-quarter coco coir
- One-quarter perlite
This costs less upfront and performs well for the most common vegetables.
How Much Soil Do You Need
Use this formula:
Length (feet) x Width (feet) x Depth (feet) = Cubic feet needed
A standard 4×8-foot bed at 12 inches (1 foot) deep needs 32 cubic feet of soil mix. That is a lot of bags. For larger beds, buying soil in bulk from a local landscape supplier by the cubic yard costs significantly less than buying it bag by bag.
The Old Farmer’s Almanac has a free soil calculator at almanac.com/tool/soil-calculator that calculates volume and breaks the result into bag counts for you.
Annual Top-Dressing
Soil shrinks over time as organic matter breaks down. Each spring, add 2 to 4 inches of fresh compost to the top of your bed. You do not need to dig it in.
Water and earthworms work it down naturally over the growing season. This keeps nutrients up and maintains your soil level year after year.
Use the Almanac’s free soil calculator to get your exact bag counts before you head to the store.
Most Common Mistakes That Will Wreck Your Raised Bed
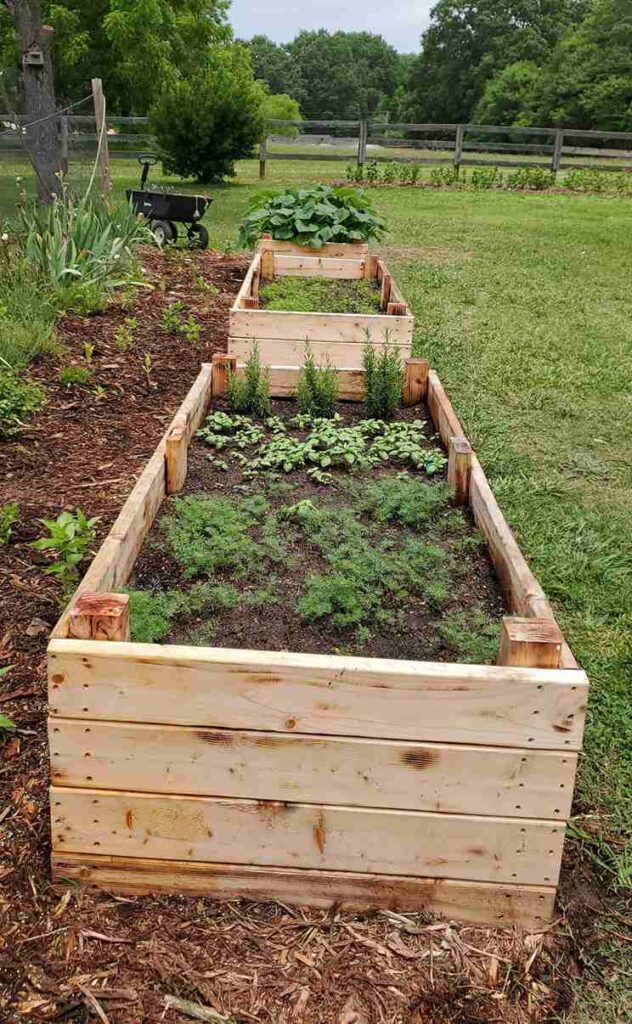
Before you buy the first piece of lumber, here are the mistakes that trip up most first-time builders and exactly how to avoid them.
Building it too wide. If you cannot reach the center without stepping inside, you will compact the soil every single time you tend the garden. Keep the width at 4 feet maximum, less if access is from one side only.
Fill it with regular garden soil. This is the most costly mistake to fix. Native soil compacts in a raised bed within a season or two and becomes nearly impossible for roots to penetrate. Use a proper mix from the start.
Skipping the weed barrier. Without landscape fabric or cardboard at the base, weeds push up from below all season long. It takes 10 minutes to install it during the build and hours to fight weeds without it.
Buying 1-inch-thick boards. They are cheaper. They also bow outward under the weight of wet soil, especially on longer beds. That bow splits joints and shortens the life of the whole structure. Always buy 2-inch-thick boards.
Placing the bed in partial shade. It doesn’t matter how good your soil is if the plants don’t get enough sun. Most vegetables need 6 to 8 hours of direct sunlight. A shady location limits yield, no matter what else you do right.
Using old reclaimed wood with an unknown history. Old railroad ties and some salvaged timber were treated with chemicals that leach directly into your soil. Use new, untreated lumber for any bed you plan to grow food in.
Avoid these six mistakes, and your bed will be producing vegetables this season and for many seasons after.
Build It This Weekend
Building a raised garden bed is one of the best single-weekend projects you can do as a home gardener. Choose untreated cedar if you want a long-term bed that lasts decades. Choose untreated pine if you want to start small and test the hobby first. Keep the width at 4 feet, the depth at least 12 inches, and fill it with a compost-based mix rather than native soil.
Start with one 4×8 bed this season. You will grow more food in that one bed than most in-ground gardens produce in twice the space.
Once your raised garden bed is up and producing, you will wonder why you waited so long to build it.
Resources and Further Reading