Best Soil for Kimberly Queen Ferns: Ideal Potting Mix Guide
Good soil makes Kimberly Queen fern care much easier. Even if you get the lighting and watering right, poor soil can still cause problems.
Kimberly Queen ferns prefer soil that holds moisture while allowing excess water to drain away. The roots like consistent moisture, but they do not like sitting in soggy conditions for long periods.
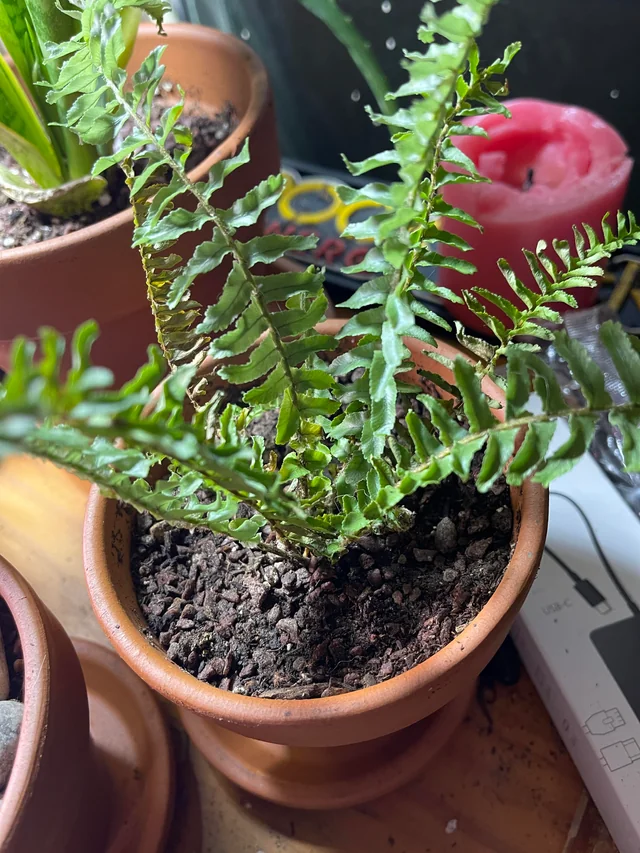
Heavy garden soil is usually a poor choice for containers. It becomes compacted over time and restricts airflow around the roots. This can lead to slow growth and root problems.
A better option is a rich, well-draining potting mix that contains plenty of organic matter.
Try this simple mix:
- 40% quality potting mix
- 30% peat moss or coco coir
- 20% pine bark
- 10% perlite
This combination holds enough moisture for healthy growth while allowing excess water to drain properly.
If you purchase a ready-made indoor plant mix, look for one that feels light and fluffy rather than dense and heavy.
The right soil also reduces the risk of overwatering. Excess moisture can move through the container instead of collecting around the roots.
When planting outdoors, choose a location with rich soil and good drainage. If water sits on the surface after rain, consider improving the soil before planting.
Healthy roots create healthy fronds. That is why soil quality plays such a big role in long-term success.
Temperature and Humidity Requirements
Kimberly Queen ferns come from Australia, where they naturally experience warm temperatures and moderate humidity. While they can adapt to different conditions, they perform best when their environment stays fairly stable.
The ideal temperature range is between 65°F and 75°F (18°C to 24°C).
Most homes fall within this range, which makes the plant an excellent indoor choice.
Problems can begin when temperatures drop too low.
General guidelines include:
- Ideal range: 65°F to 75°F
- Stress may begin below 55°F
- Serious damage can occur below 45°F
Outdoor plants should be protected before temperatures approach freezing.
Humidity is another important part of indoor fern care.
Most homes become quite dry during winter, especially when heating systems run continuously. Dry air often causes brown tips and crispy edges.
Aim for humidity levels between 40% and 60%.
If your home feels dry, try one of these simple solutions:
Use a Pebble Tray
Fill a shallow tray with pebbles and water. Place the pot above the water line. As the water evaporates, the humidity around the plant increases.
Run a Humidifier
This is often the most effective option for homes with very dry air.
Group Plants Together
Plants naturally release moisture into the air. Grouping them creates a small humidity zone.
Place the Fern in a Bathroom
Bathrooms often have naturally higher humidity levels due to showers and baths.
Watch for signs of humidity stress, such as:
- Brown leaf tips
- Crispy edges
- Slow growth
- Dry fronds
Maintaining proper temperature and humidity helps keep foliage lush and healthy throughout the year.
Fertilizing a Kimberly Queen Fern
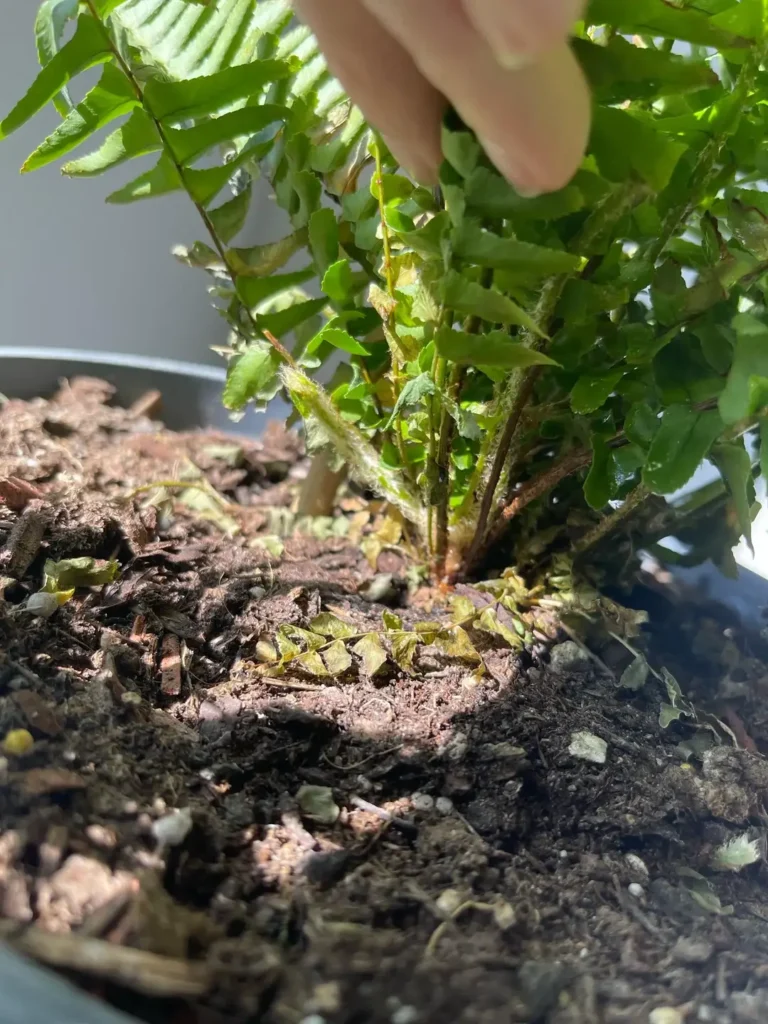
Many people assume fertilizer will solve every plant problem. In reality, fertilizer only helps when the plant is already receiving proper light, water, and soil conditions.
Kimberly Queen ferns are moderate feeders. They benefit from regular nutrition during active growth but do not need heavy feeding.
The best time to fertilize is from spring through late summer.
A balanced liquid houseplant fertilizer works well for most situations.
Apply fertilizer at half strength once each month during the growing season.
Using full-strength fertilizer may seem like a good idea, but it often creates problems. Too much fertilizer can burn the roots and leave brown edges on the foliage.
A simple feeding schedule looks like this:
- Spring: Begin monthly feeding
- Summer: Continue monthly feeding
- Fall: Reduce feeding
- Winter: Stop or fertilize very lightly
Watch for signs that your plant may need nutrients.
These include:
- Slow growth during spring
- Smaller new fronds
- Pale foliage
At the same time, avoid assuming every issue is caused by a fertilizer shortage. Overwatering, poor lighting, and low humidity are usually more common causes of poor growth.
When used correctly, fertilizer helps support stronger roots, greener foliage, and healthier fern growth throughout the season.
Repotting a Kimberly Queen Fern
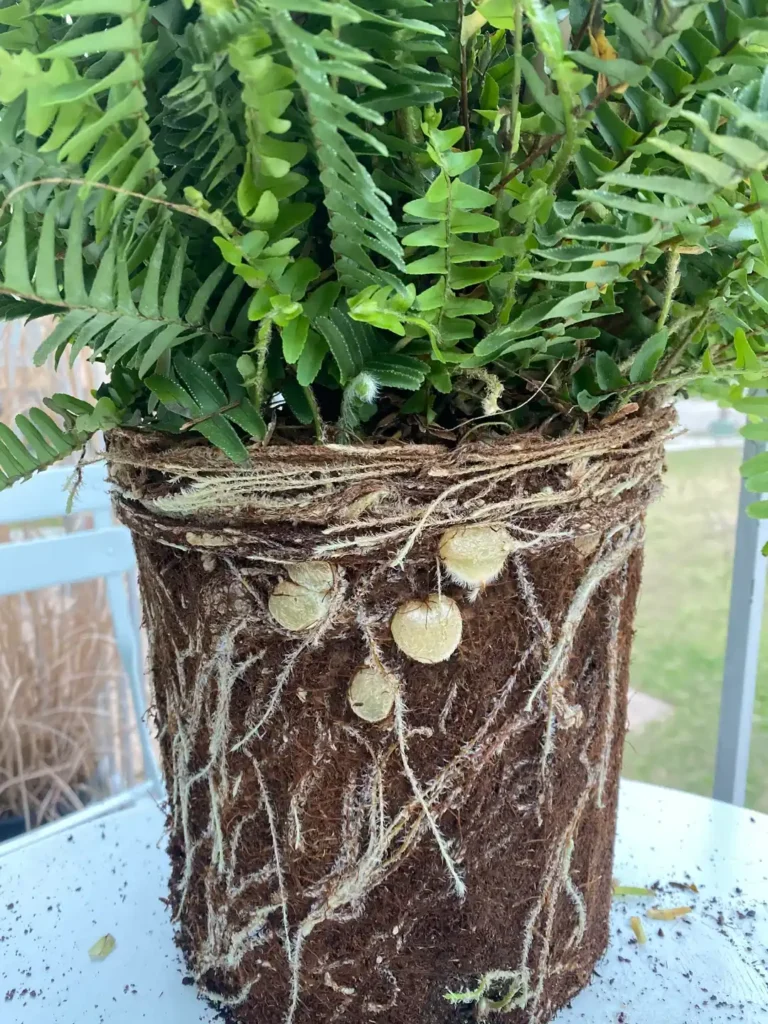
Even healthy ferns eventually outgrow their containers.
As roots fill the pot, they have less room to expand. Water moves through the container more quickly, and growth may slow down.
Most Kimberly Queen ferns need repotting every one to two years.
Look for these signs:
- Roots circling the inside of the pot
- Water drains out almost immediately
- Reduced growth
- Roots visible through drainage holes
- Soil dries unusually fast
When you notice several of these symptoms, it is probably time for a larger container.
Choose a new pot that is about one to two inches wider than the current container.
A pot that is too large can hold excessive moisture and increase the risk of root rot.
How to Repot a Kimberly Queen Fern
- Water the plant one day before repotting.
- Gently remove it from the container.
- Inspect the roots.
- Trim any dead or damaged roots.
- Add fresh potting mix to the new container.
- Position the plant at the same depth as before.
- Fill around the roots with soil.
- Water thoroughly.
After repotting, keep the fern out of direct sunlight for several days while it adjusts.
Some minor drooping is normal after repotting. Most plants recover within a week or two.
Fresh soil provides new nutrients and creates additional space for root development, helping the plant continue growing strongly.
How to Propagate a Kimberly Queen Fern
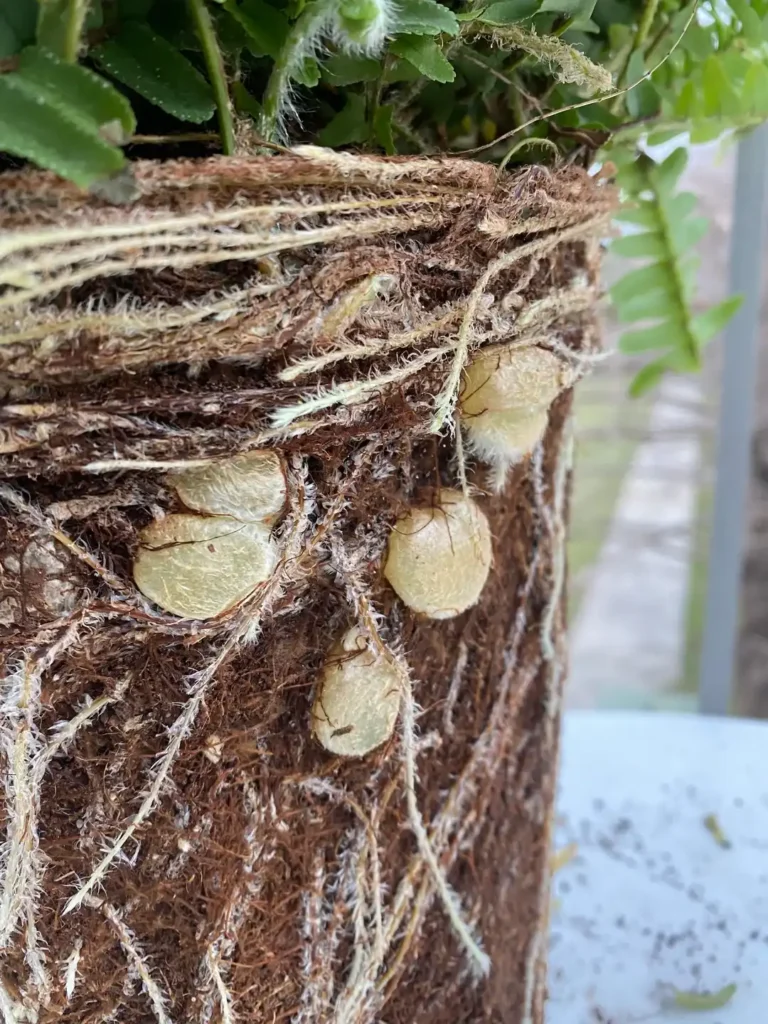
If you want more plants without buying them, propagation is the answer.
The easiest and most reliable method for propagating a Kimberly Queen fern is division.
Unlike some plants that grow easily from cuttings, ferns are usually divided through their root system.
The best time to divide a fern is during spring when active growth begins.
Step 1: Remove the Plant
Carefully remove the fern from its container.
Shake away some of the loose soil so you can see the root system.
Step 2: Separate Root Sections
Look for natural sections where the plant can be divided.
Use your hands or a clean knife to separate the root ball into smaller sections.
Each division should have:
- Healthy roots
- Several fronds
- An intact crown
Step 3: Replant the Divisions
Place each section into its own container filled with fresh potting mix.
Make sure the crown remains at the same depth as before.
Step 4: Water Thoroughly
Water each new division immediately after planting.
This helps settle the soil around the roots.
Step 5: Increase Humidity
Recently divided plants benefit from slightly higher humidity.
You can use a humidifier or place the pots in a naturally humid room for the first few weeks.
Some temporary drooping is normal. Once new roots develop, fresh growth should appear.
Division is a simple way to create several healthy plants from one mature Kimberly Queen fern.
Common Kimberly Queen Fern Problems and Fixes
Even well-cared-for ferns occasionally develop issues. The good news is that most problems are easy to identify and correct.
Brown Leaf Tips
Brown tips are one of the most common complaints.
Possible causes include:
- Low humidity
- Underwatering
- Salt buildup from fertilizer
- Dry indoor air
To fix the issue:
- Increase humidity
- Water more consistently
- Flush excess fertilizer salts from the soil
- Move away from heating vents
Yellow Leaves
Yellow foliage often points to excess moisture.
Common causes include:
- Overwatering
- Poor drainage
- Heavy soil
Solutions include:
- Allow the soil to dry slightly before watering
- Improve drainage
- Repot if necessary
Drooping Fronds
Drooping usually indicates stress.
Possible causes:
- Dry soil
- Root damage
- Recent repotting
- Temperature changes
Check soil moisture first. If the soil feels dry, water deeply.
Leggy Growth
Leggy growth happens when the plant is not receiving enough light.
Symptoms include:
- Long stems
- Sparse foliage
- Weak growth
Move the plant closer to a bright window with indirect light.
Spider Mites
Spider mites thrive in dry indoor conditions.
Signs include:
- Tiny webbing
- Speckled foliage
- Weak growth
Increase humidity and wash the foliage regularly.
Aphids
Aphids feed on plant sap and may cluster on new growth.
Treatment options include:
- Strong water spray
- Insecticidal soap
- Neem oil
Scale Insects
Scale insects appear as small bumps attached to stems and fronds.
Remove them manually and follow up with horticultural oil if necessary.
Most fern problems improve quickly once the underlying cause is identified and corrected.
Indoor vs Outdoor Kimberly Queen Fern Care
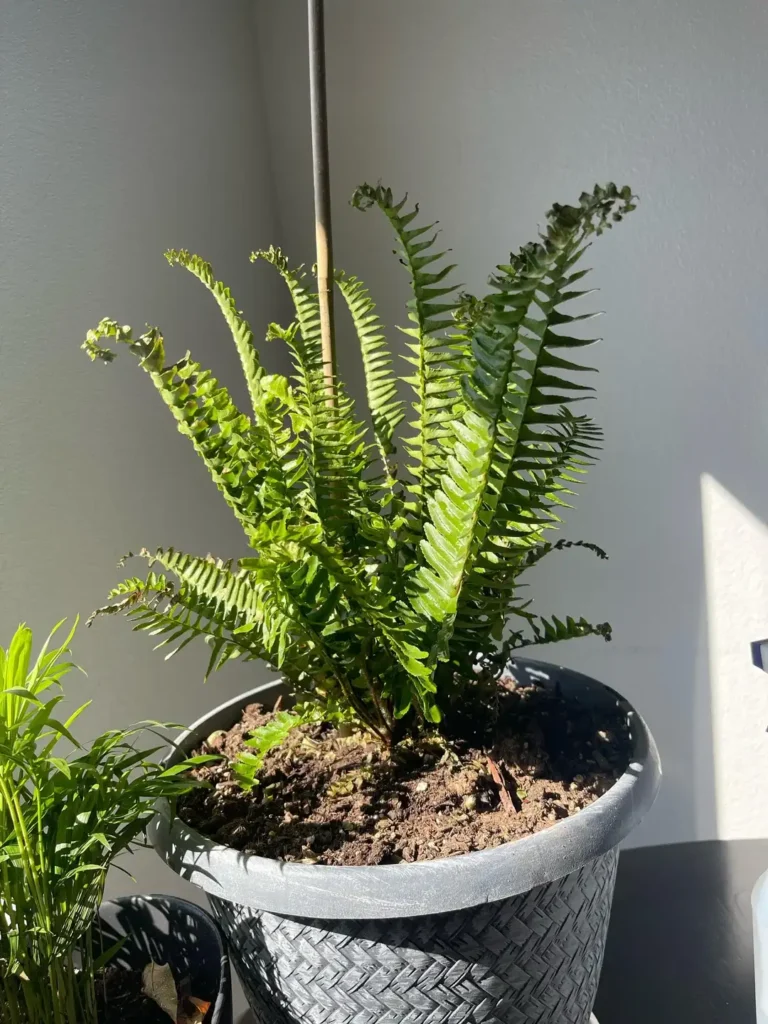
One reason this plant is so popular is its flexibility. It can thrive indoors or outdoors when given proper care.
Growing Kimberly Queen Fern Indoors
Indoor plants benefit from:
- Bright indirect light
- Stable temperatures
- Moderate humidity
- Regular watering
East-facing windows are often ideal.
Avoid placing the plant near heating vents, fireplaces, or air conditioners because sudden temperature changes can stress the foliage.
Humidity becomes especially important during winter.
Growing Kimberly Queen Fern Outdoors
Outdoor plants generally grow faster due to higher humidity and better airflow.
Ideal locations include:
- Covered porches
- Patios
- Shaded decks
- Areas with morning sun
Containers work especially well because they can be moved when weather conditions change.
Outdoor plants may require more frequent watering during hot weather.
Check the soil regularly instead of following a strict schedule.
Winter Care
In regions with cold winters, Kimberly Queen ferns should be brought indoors before frost arrives.
Do not wait until freezing temperatures occur.
A gradual transition works best.
Move the plant into a shaded outdoor location for several days before bringing it inside.
This reduces stress and helps the fern adapt to lower indoor light levels.
During winter:
- Water less frequently
- Stop fertilizing
- Increase humidity if needed
- Keep away from cold drafts
With proper overwintering, the same plant can thrive for many years.
Kimberly Queen Fern Care Calendar
Following a seasonal routine makes Kimberly Queen fern care much easier.
| Season | Tasks |
|---|---|
| Spring | Fertilize, repot, divide |
| Summer | Monitor moisture and growth |
| Fall | Reduce feeding and prepare for winter |
| Winter | Protect from cold and increase humidity |
Spring
Spring is the season of active growth.
This is the best time to:
- Repot crowded plants
- Divide mature ferns
- Resume fertilizing
- Increase watering
Summer
Summer growth is usually at its peak.
Focus on:
- Monitoring soil moisture
- Checking for pests
- Protecting from the intense afternoon sun
Fall
Growth begins slowing down.
Reduce:
- Fertilizer applications
- Watering frequency
Prepare outdoor plants for cooler temperatures.
Winter
Winter is mainly about protection.
Keep plants:
- Away from freezing temperatures
- Away from dry heating vents
- Properly humidified
Following this simple schedule helps your fern stay healthy throughout the year.
Conclusion
Kimberly Queen fern care is much easier when you focus on the basics. Give the plant bright indirect light, consistently moist soil, good drainage, and moderate humidity. Pay attention to seasonal changes and adjust watering and feeding as needed.
Most problems, such as brown tips, yellow leaves, and drooping fronds, can be traced back to a few simple causes. Once you understand what the plant needs, keeping it healthy becomes much less stressful.
Take a few minutes today to check your fern’s growing conditions. Look at the drainage, test the soil moisture, and evaluate the humidity around the plant. Small improvements often make a big difference.
With the right routine, your Kimberly Queen fern can stay lush, green, and beautiful for many years.